The Art of Crafting Natural Soaps Explained

Creating natural soaps is not just a hobby; it’s an art form that combines creativity, science, and a touch of nature. With the growing awareness of the benefits of natural ingredients, more people are turning to homemade soaps as a way to pamper their skin and reduce their exposure to synthetic chemicals. This blog post will guide you through the entire process of crafting natural soaps, from understanding the ingredients to the techniques involved, ensuring you have all the knowledge you need to get started.

Understanding the Basics of Soap Making
Before diving into the soap-making process, it’s essential to understand what soap is and how it works. Soap is a compound created through a chemical reaction called saponification, which occurs when fats or oils react with an alkali, typically sodium hydroxide (lye). This reaction produces glycerin and soap, which can effectively cleanse the skin by removing dirt and oils.
Key Ingredients in Natural Soap
Fats and Oils
The choice of fats and oils significantly affects the soap's properties. Common options include:
Olive Oil: Known for its moisturizing properties.
Coconut Oil: Provides a rich lather and hardness to the soap.
Palm Oil: Adds creaminess and stability to the lather.
Lye
Lye is essential for the saponification process. It’s crucial to handle lye with care, as it is caustic and can cause burns. Always wear gloves and goggles when working with it.
Water
Water is used to dissolve the lye before mixing it with oils. Distilled water is recommended to avoid impurities.
Additives
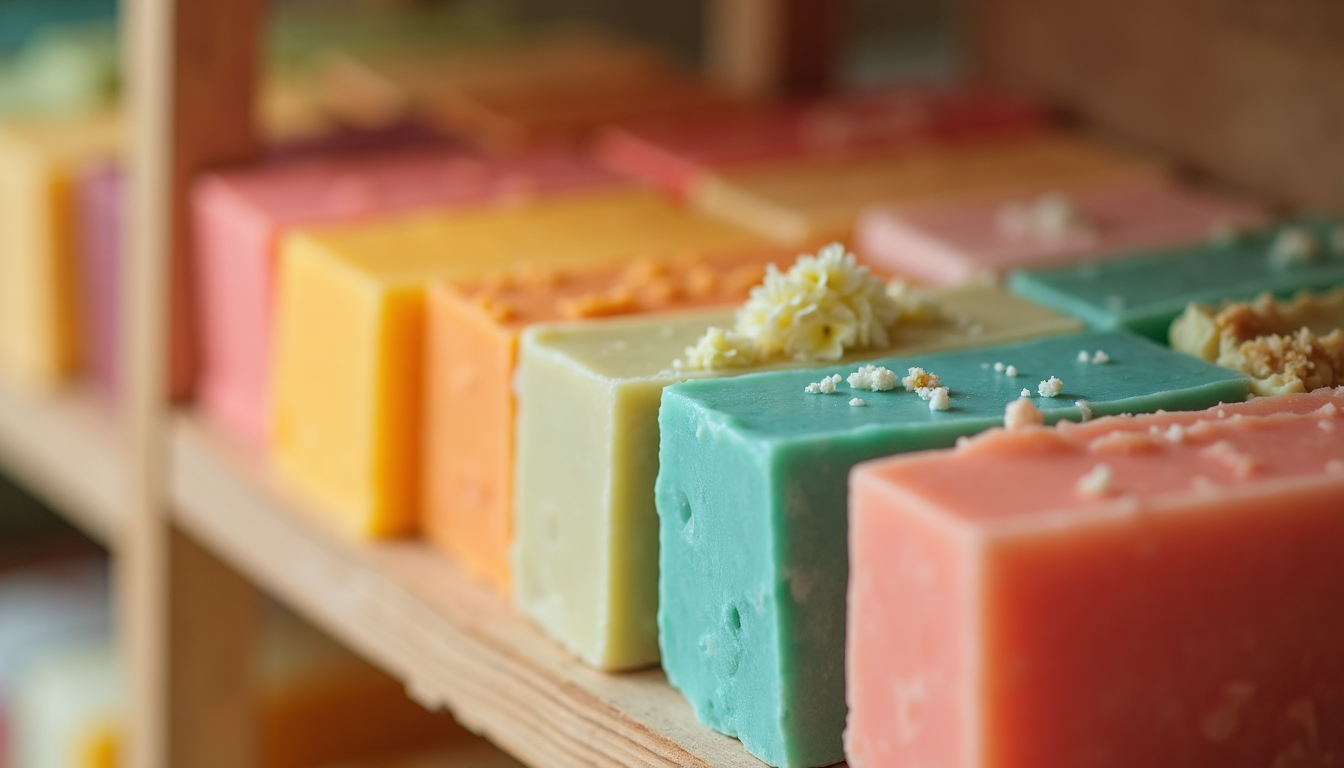
Natural soaps can be enhanced with various additives, including:
Essential Oils: For fragrance and therapeutic benefits.
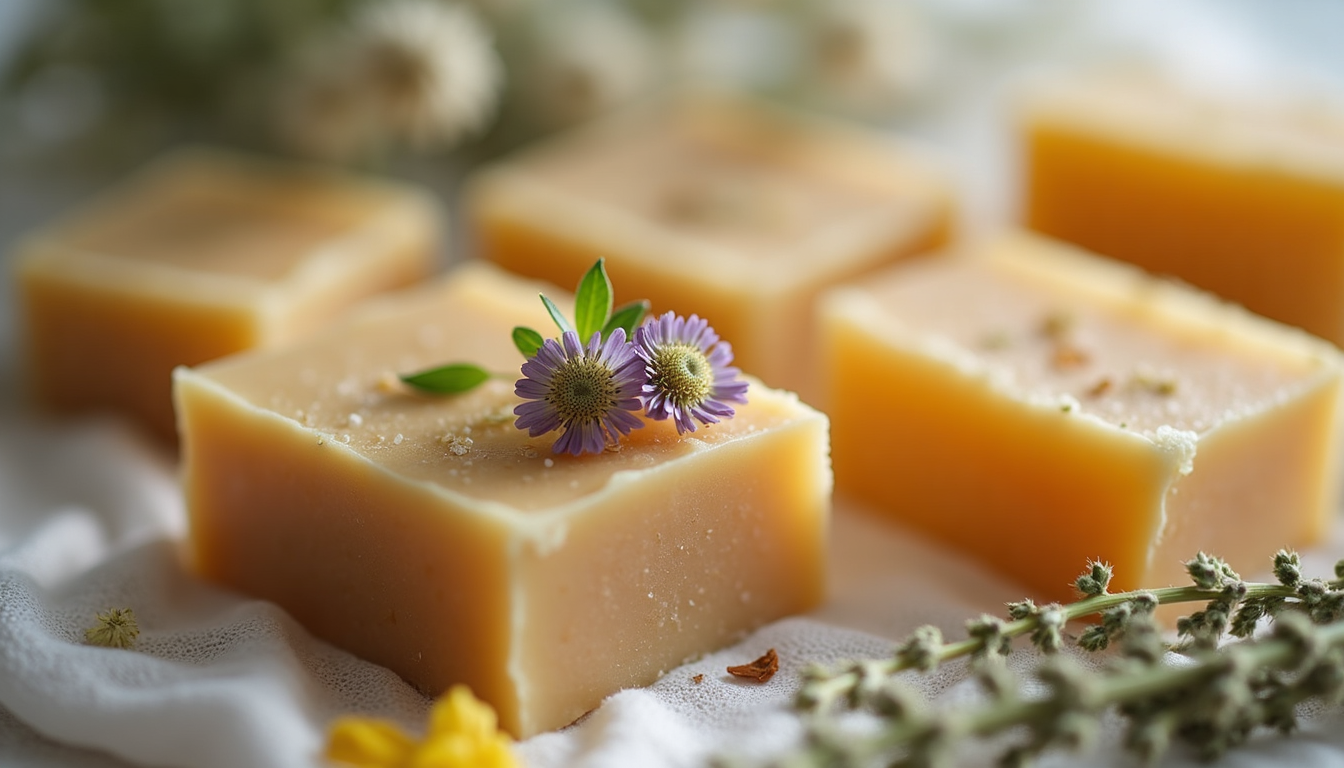
Herbs and Botanicals: For texture and color.
Clays: To add color and absorb impurities.
The Soap-Making Process
Step 1: Gather Your Supplies
Before starting, ensure you have all the necessary supplies:
Safety gear (gloves, goggles, long sleeves)
Scale for measuring ingredients
Mixing bowls (preferably stainless steel or glass)
Stick blender
Soap mold
Thermometer
Measuring spoons
Step 2: Measure Ingredients
Accurate measurements are crucial in soap making. Use a scale to weigh your oils and lye. A typical recipe might include:
16 oz of olive oil
16 oz of coconut oil
16 oz of palm oil
6.5 oz of lye
12 oz of distilled water
Step 3: Prepare the Lye Solution
Carefully add the lye to the water (never the other way around) in a well-ventilated area. Stir until dissolved, and let it cool to around 100-110°F.
Step 4: Melt the Oils
In a separate container, melt your solid oils (like coconut and palm) and mix them with the liquid oils (like olive oil). Allow the mixture to cool to the same temperature as the lye solution.
Step 5: Combine Lye and Oils
Once both mixtures are at the right temperature, slowly pour the lye solution into the oils. Use a stick blender to mix until you reach "trace," which is when the mixture thickens and leaves a trail on the surface.
Step 6: Add Fragrance and Color
At this stage, you can add essential oils, colorants, or any other additives. Mix thoroughly to ensure even distribution.
Step 7: Pour into Molds
Carefully pour the soap mixture into your molds. Tap the molds gently to remove any air bubbles.
Step 8: Insulate and Cure
Cover the molds with a towel to insulate them, allowing the soap to saponify. After 24-48 hours, you can unmold the soap and cut it into bars. Let the bars cure for 4-6 weeks in a cool, dry place.
Tips for Successful Soap Making
Keep It Simple: If you’re a beginner, start with a basic recipe before experimenting with complex additives.
Document Your Process: Keep notes on your recipes and results to improve your technique over time.
Be Patient: Soap making requires time, especially during the curing phase. Rushing can lead to undesirable results.
Common Mistakes to Avoid
Not Measuring Accurately
Inaccurate measurements can lead to lye-heavy soap, which can be harmful.
Skipping Safety Gear
Always prioritize safety when handling lye and hot oils.
Ignoring Temperature
Mixing lye and oils at incorrect temperatures can affect the saponification process.
Overmixing
Mixing too long can lead to a thick trace, making it difficult to pour into molds.
Exploring Different Soap Types
Cold Process Soap
This method involves mixing lye with oils at room temperature. It allows for greater control over the ingredients and is popular among artisans for its versatility.
Hot Process Soap
In this method, the soap mixture is heated, which speeds up the saponification process. This results in a more rustic appearance and a shorter curing time.
Melt and Pour Soap
This is the easiest method for beginners. Pre-made soap bases are melted and mixed with additives before being poured into molds. It’s a great way to experiment with colors and fragrances without handling lye.
Enhancing Your Soap Crafting Skills
Join a Community
Engaging with other soap makers can provide valuable insights and support. Consider joining online forums or local workshops to share experiences and learn new techniques.
Experiment with Ingredients
Don’t be afraid to try new oils, fragrances, and additives. Each ingredient can alter the soap's properties, allowing you to create unique products.
Document Your Recipes
Keep a detailed log of your recipes, including measurements, temperatures, and any changes made. This will help you refine your process and replicate successful batches.
Conclusion
Crafting natural soaps is a rewarding endeavor that allows you to express your creativity while providing a useful product. By understanding the basics, following the right techniques, and avoiding common pitfalls, you can create beautiful, fragrant soaps that are gentle on the skin. Whether you’re making soap for personal use or as gifts, the art of soap making is a fulfilling journey that connects you with nature and your creativity. So gather your supplies, put on your safety gear, and start crafting your own natural soaps today!
Comments